Sunday, 18 January 2015

Google SDK vs Dive SDK

In the previous post I used the Dive plug-in to create a simple VR app for Cardboard.  Shortly after I'd created the test app, I discovered the official Google Cardboard SDK for Unity. Therefore my next step was to try it to see how the two compared.

Although the Google package appeared more cumbersome, I quickly found that it was much more flexible.  One key -- and rather important -- distinction was the ability to detect Cardboard's magnetic trigger switch.

The outer neodymium magnet (countersunk ring shape) is held in place by a ferrite (ceramic) disc magnet, glued inside the headset.  The ring can slide downward and, when released, flicks back into alignment with a pleasing, spring-style motion -- a genius bit of design.  The photo illustrates how the switch affects the phone's compass sensor.
(Source: Ben Lang's "Road to VR" blog)
Certainly the Google-driven app seems to behave itself better on the phone.  I'd found that my Dive apps had a habit of losing track of head position during fast movement, meaning that the 3D landscape would unexpectedly re-orient direction (i.e. yaw) or roll the horizon to a permanent angle.  That's a biggie in bug terms, and undermines it significantly.  I'm guessing that the Dive headset design may use the magnetic sensors to assist with determining alignment -- something that Google eschewed due to Cardboard's magnetic switch.

Every Cardboard app I've seen has used the hardware 'back' button to quit, but my Dive test app ignored this button.  Access to hardware buttons is obstructed by both Cardboard and Dive designs, so the only time most users would press 'back' is after de-coupling their phone from the headset -- so it's not much of an issue.

Another problem I found was that, after mixing the Google and Dive SDKs in the same project, the Dive app started crashing badly when recompiled.  There's obviously some kind of conflict there.

Updated: I'd suffered crashes when mixing Dive & Google SDKs in the same project.  However, the same problem later started to affect Google-SDK-only projects.  It now appears that this is a bug caused by corrupted files within Unity.

The Google SDK is not all roses: in particular, the manual is a bit rubbish.  When testing the Dive app within Unity's game window, the mouse controlled head movement.  It took me three days to discover (by examining the SDK's C# scripts, eventually) that Google's SDK supports mouse control only if you hold the ALT key down.  Most unhelpful.

Updated: ...and another two weeks to discover that the CTRL key allows the head to roll from side-to-side.

As a side note, I understand that the Samsung Gear VR phone-based system is based on Oculus Rift so, presumably, the Oculus Rift official plug-in for Unity may offer some support in this direction.  However, my investigations so far suggest that this will be far from straightforward.

A test environment in Unity using the Dive plug-in
It may sound obvious to conclude that Google's own SDK works best for Google's VR system, but in 33 years of programming I've discovered that presumptions always need to be tested.  It's used-up a fair few hours of my life but I'm satisfied that I'm now working with the right tools for the job.

Tuesday, 13 January 2015

Unity Cardboard test #1

After playing a few demos on my Google Cardboard VR headset I was keen to get building my own test environment.

Thankfully I quickly stumbled upon a helpful tutorial on a blog by programmer Ben Dixon.  This explained -- in nice, easy terms and lots of pretty pictures -- how to put together a basic Cardboard app using the Unity 3D game engine, my own personal weapon-of-choice.

Setting up a split screen was easy: set up two cameras (one for each eye position) and allocate each a viewport on the left- and right-side of the screen respectively.

A little more tricky was the head movement tracking control, Ben used the Dive plug-in package produced by Durovis as part of their Software Development Kit (SDK) for Unity.  Attach the main script to the first-person controller and ... voila!

So I had a quick go.  I used Unity's low-cost Standard Assets (Mobile) package to create a basic terrain & skybox.  Planted a couple of primitive shapes around to help with direction calibration.  Then, finally, I added a couple of Maya animated game objects I had sitting around, following a waypoint path.  This was the result:

Side-by-side (L-R) stereo view as seen on an Android mobile phone.
"I am Warbot!  I will kill you, puny hu-man!"
(A handful of eagle-eyed readers will recognise Josh Taylor's famous Warbot tin toy design, used to teach UV map texturing to games design students.  This is my own homage with a mesh & texture based heavily on Josh's original.)

While I was at it, just for fun I threw in a model of an Imperial AT-AT Walker (created by one of my students) that I'd adapted for a rigid-mesh rigged-animation walk cycle demo (based on the Preston Blair 4-legged sequence).


The overall result worked OK, but I was disappointed that the rotation and horizon slipped on occasion, resulting in a lopsided view.  Also, as pointed out in the tutorial, there was no clear way to detect the magnetic switch on the Cardboard unit (no surprise, given that the SDK was for a competing product).

Well, that's VR test #1 complete.  In the next test I'm aiming to use Google's own Unity SDK, which is a bit more complex to use but gives me access to the magnet trigger switch.

Monday, 12 January 2015

VR Games

In the previous post I described my initiation into the world of Google Cardboard, a cheap and fun way to enter the realms of Virtual Reality (VR).

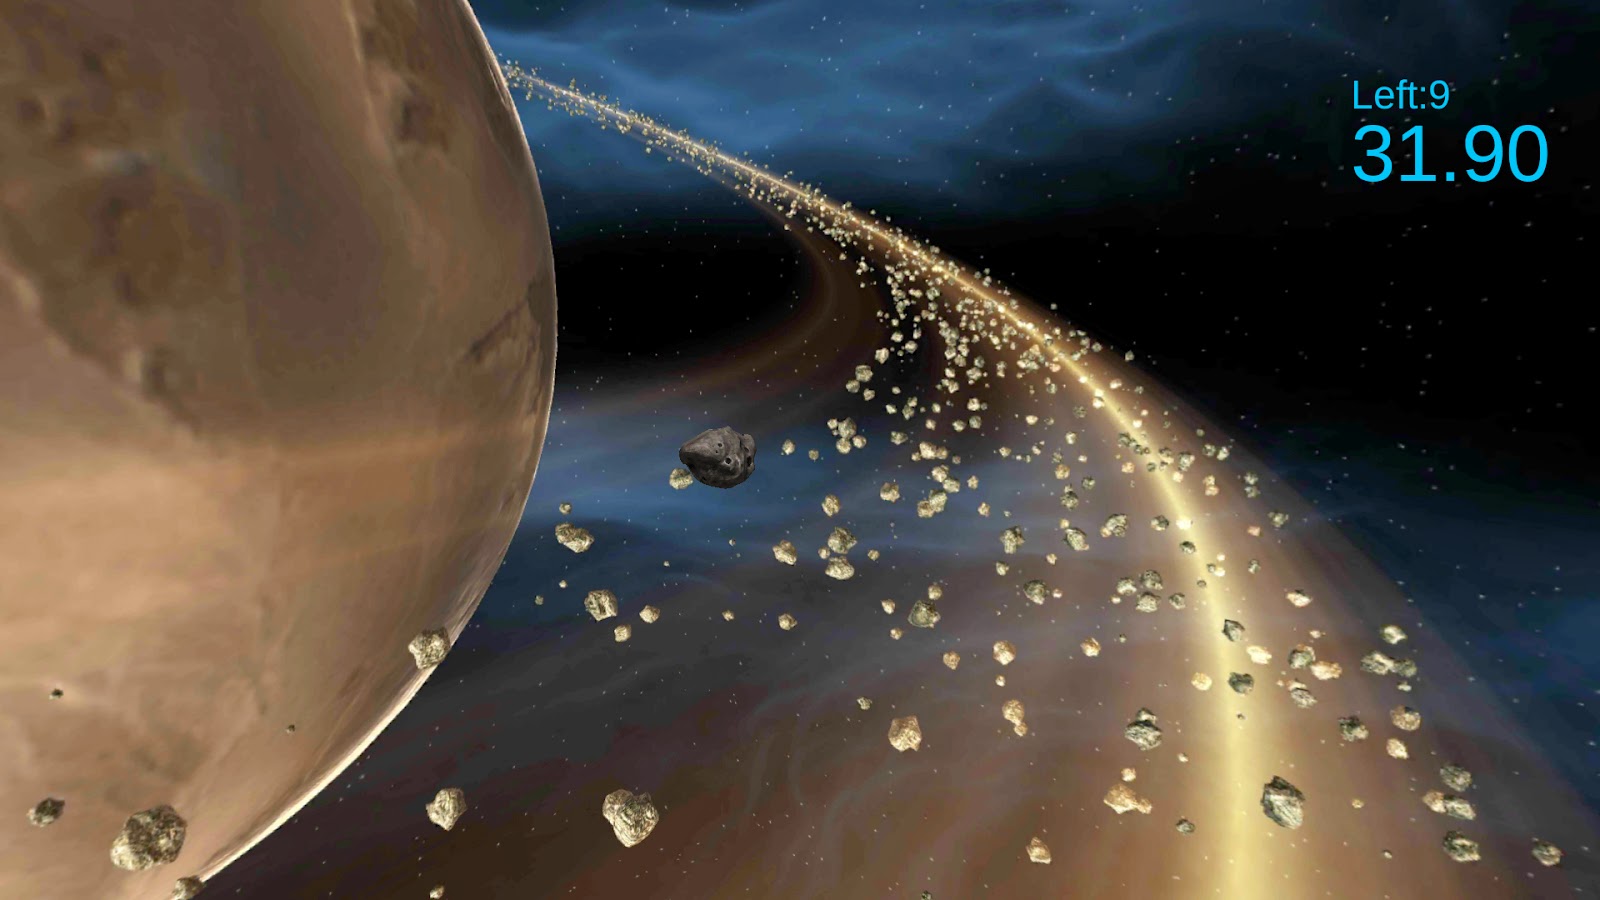
After building my cardboard headset I downloaded some demo apps to test the whole thing out.  One of my favourites has been DebrisDefrag by Japanese developer Limecolor.

Shoot the large asteroids as they wander across your path.  (Hmm, sounds like an idea for a vector-based 2D arcade game...)  Careful -- they're all around you (even above and below).
DebrisDefrag makes excellent use of the magnetic switch on Cardboard and emphasises the fact that you can have a fun game even if your FPS "body" can only swivel on the spot.

I was surprised to find Tuscany Dive by FabulousPixel, a version of the Tuscany demo designed for the Oculus Rift VR system.  Makes a lot of sense -- after all, the demo was built to showcase VR.  Anyway, this version appears to have been designed for use with the Durovis Dive (also called OpenDive) VR headset, which is basically a plastic 3D-printed equivalent of Google Cardboard.

A side-by-side (L-R) presentation of the Tuscany house.  These images can be free-viewed using the parallel technique.


Mobile phones have relatively low-power processing ability (typically a tenth of normal desktop processors, according to my research) so an environment like this, with its high graphics cost, pushes the limits of a mobile phone's electronics.  Thankfully the developers have added a tap-to-change-graphics-quality feature.  (With Cardboard you must move the headset away from your face and wiggle your finger inside the nose-hole to touch the screen, so it's not exactly convenient!)

The big problem with this demo -- and it demonstrates one of the big technology limitations of cheap VR -- is how to move.  The demo has an "auto-walk" feature, where you look downward to enable or disable movement in the direction of view.  I found it a pain to use.

Tuscany Dive isn't exactly a game, but it does show the potential for 3D environments like this typically found in firs-person games.

Sisters by Otherworld Interactive demonstrates the application of this very well, in a nice little creepy horror experience.


Many of the other Cardboard apps I've tried are just VR demos but my experiences have shown me that there's a fair bit of potential for making games in this particular area -- especially ones aimed at cheap mobile VR devices like Cardboard or Dive.

The Sisters game made me think of Gone Home, which reminded me that my old Rewind sandbox game concept particularly lends itself to VR implementation.  I'd put the game to one side while working on other projects, but these seems a prime opportunity to resurrect it; I've got a load of assets built already.  Therefore I'm aiming to release a basic version of Rewind once I've cracked a few tricky problems:

  • How to use Unity to construct VR games
  • How to control 3D movement with only limited input from the user

Next post: getting started with VR in Unity!

Tuesday, 6 January 2015

Cardboard VR

The first time I looked through a View-Master I knew I'd fallen in love with 3D stereoscopy.  From that day onward I grabbed any opportunity to experience it.

Don't forget -- back in the dark ages of the 1980s, it was rare to find 3D images!  I lovingly cherished the anaglyphic goodness of my giant-sized Captain EO comic book and gazed in wonder at the novelty shorts playing on Alton Towers' early IMAX 3D screens.  I oscillated from side-to-side looking at exhibits in Liverpool's Albert Dock laser hologram gallery (now sadly long gone).

However, it was an exhibition at the Guernsey Occupation Museum that opened my eyes (pun fully intended) to the serious use of stereo imagery.  Since then, through various online resources (including Brian May's occasional blogs on historical 3D photography) I've learned a useful amount about the subject.

Of course, in the last decade, 3D has gone mainstream.  From cinemas to the 3DS console, stereo images are now easy to find.  Some implementations are poor (such as the dreadful back-conversions of popular movies) and some are good (like Anthony Dod Mantle's beautiful slow-motion 3D cinematography on Dredd 3D).  Some are just fun, like the lenticular prints found on selected DVD & book covers.

Last year I had the opportunity to study the excellent work of fellow MA Games student Alex Bellingham.  His Zeitgeist project gives a grand overview of 3D image presentation techniques and explores interactive user interface (UI) design in this strange new world.  Alex is currently an "immersive UI specialist" at Sony SCEE, working on their Project Morpheus VR (virtual reality), which leads me neatly into the subject of this post -- interactive 3D through VR!

Virtual Reality on-the-cheap


I'd had a chance to play with the popular Oculus Rift VR system back in September, at development kit training session for UCLan's Game Design students.  My first impression was of terrible motion sickness -- a major problem VR developers are still trying to crack -- but the overall technology was extremely impressive.  The only catch is the cost.

So, back in the summer when a friend introduced me to Google's Cardboard virtual reality (VR) project, I was interested.  For those who aren't familiar with it, the idea is to construct a basic VR headset using just an Android mobile phone and cardboard.

Google Cardboard headset with phone, showing a side-by-side stereo image on the screen.
(Photo pilfered from Google's website)

If this sounds too easy that's because there is a catch.  You also need a pair of convex lenses (which can be difficult to source) and a couple of strong magnets; thankfully there are a number of online suppliers willing to provide these (at a hefty mark-up, of course).

The phone app displays a pair of images, each focused to an eye by a lens.  The phone's internal gyroscopes detect movement; the magnets are used to construct a clever remote "switch" which triggers the phone's internal magnetic sensors.  Finally, an optional sticker allows NFC-compatible phones to launch the app automatically after mounting.

The full kit, including a pair of neodymium magnets, convex lenses, an NFC sticker, rubber band, Velcro fasteners and pre-cut folding cardboard.
(Photo from Google)

It's taken quite a while to get round to investigating it first-hand, but I've been quite impressed with it as a very economical -- and fun -- form of VR.

Cardboard for the Galaxy Note


One of the factors delaying my investigation was my phone.  I've got an original model Samsung Galaxy Note (N7000) and its 5.3-inch screen makes it too big to fit the standard Cardboard design template.

I'd considered buying one of the ready-cut "big phone" cardboard kits, but fancied the challenge (and ethos) of building from scratch.  I couldn't find an existing template online, so I did a bit of measuring and drew up my own.

During testing I discovered another problem: I have a big head.  Literally.  My eyes are further apart than average, which messes with the lens positioning.  The mean average interpupilary distance is around 62-65mm (which is the distance between lenses on Google's template); mine is 70mm.  So I adjusted the design to compensate.

Here's the final design, adapted specifically for the N7000:


I'm more than happy with the final product, which works perfectly.  It's a shame that the N7000 doesn't have NFC technology but it's not much of a hardship having to launch the app manually.

The finished product!

In the next post I'm going to explore the world of Cardboard games: the interesting limitations of control using a single switch, and what I've found out so far trying to develop VR games from scratch using the Unity engine.